Blocks programming for Clover

Visual blocks programming feature has been added to the RPi image, starting with the version 0.21. Blocks programming is implemented using Google Blockly library. Blocks programming integration can lower the entry barrier to a minimum.
Configuration
For correct work of the blocks programming, blocks argument in the Clover launch-file (~/catkin_ws/src/clover/clover/launch/clover.launch) should be equal to true:
<arg name="blocks" default="true"/>
Running
To run Clover's blocks programming interface, connect to Clover's Wi-Fi and go to web-page http://192.168.11.1/clover_blocks/ or click the link Blocks programming at the main page.
The page looks as follows:
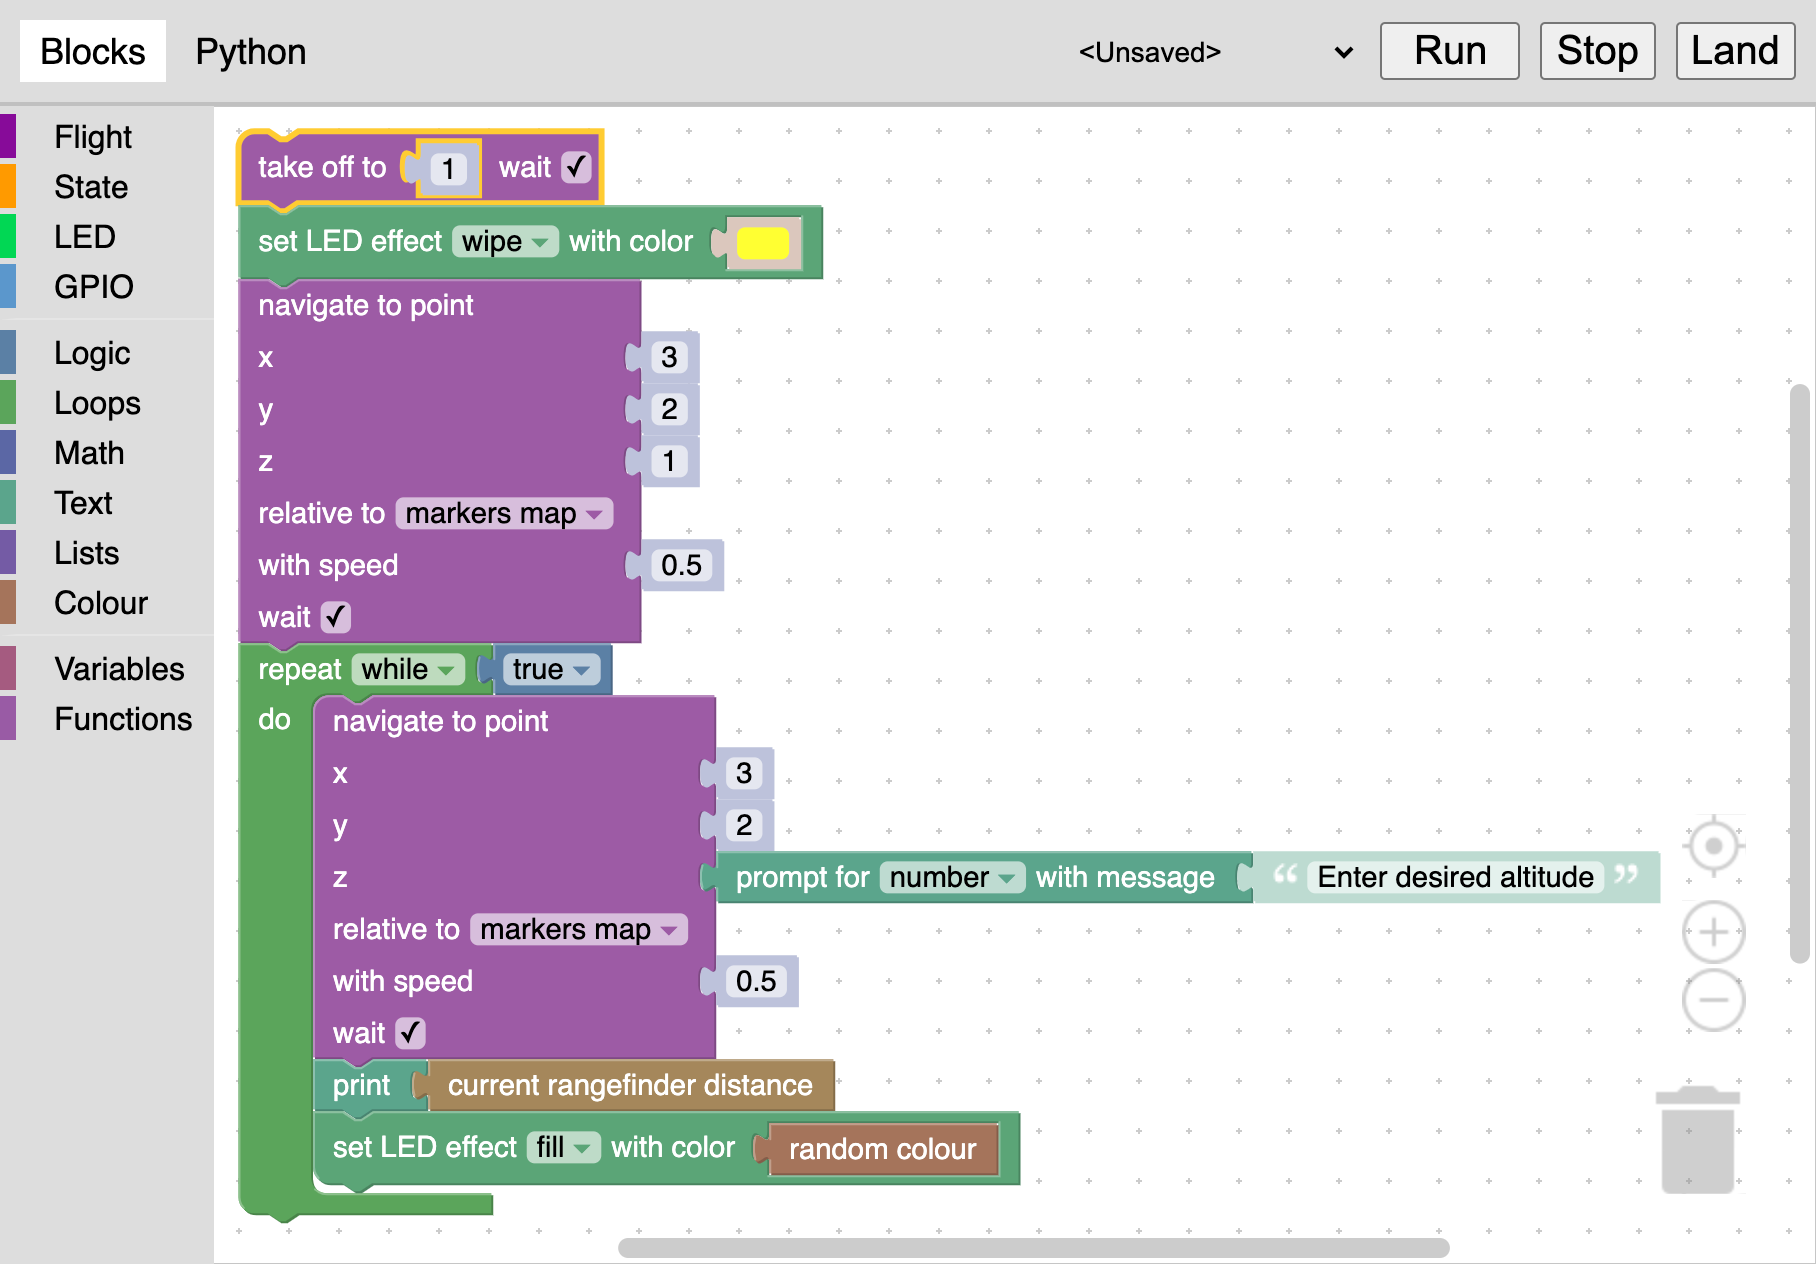
Assemble your program using blocks in the menu at the left and then click Run button for running. You can also view generated Python-code, switching to Python tab.
The Stop button stops the program. Clicking Land button also stops the program and lands the drone.
Storing and loading
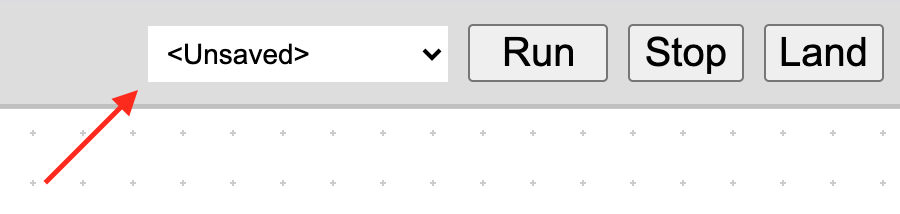
To store the program, open the menu at the top right, select Save item and input your program's name. The name should contain only Latin characters, hyphen, underline and dot characters. All your stored programs are available at the same menu.
Your programs are stored as XML-files in the /catkin_ws/src/clover/clover_blocks/programs/ directory of the SD-card.
Note also example programs, available at the same menu.
Blocks
The set of blocks is somewhat similar to the set of ROS-services of Clover's autonomous flights API. This section contains descriptions of some of them.
Clover's blocks are separated into 4 categories:
- Flight – autonomous flight related commands.
- State – blocks for obtaining the drone state parameters.
- LED – blocks for controlling LED strip.
- GPIO – blocks for working with GPIO pins.
The rest of categories contains standard Blockly's blocks.
take_off

Take off to specified altitude in meters. The altitude may be an arbitrary block, that returns a number.
The wait flag specifies, if the drone should wait until take off is complete, before executing the next block.
navigate

Navigate to specified point. Coordinates are specified in meters.
The wait flag specifies, if the drone should wait until navigation is complete, before executing the next block.
Relative to field
This block allows to specify the coordinate frame of the target point:
- body – coordinates, relative to the drone: forward, left, up.
- markers map – coordinates, relative to the map of ArUco-markers.
- marker – coordinates, relative to an ArUco-marker; marker's ID input fields appears.
- last navigate target – coordinates, relative to the last specified navigate point.
- map – drone's local coordinate system, linked with the point of its initialization.
- global – global coordinates system (latitude and longitude) and relative altitude.
- global, WGS 84 alt. – global coordinates system and WGS 84 altitude.
land

Land the drone.
The wait flag specifies, if the drone should wait until landing is complete, before executing the next block.
wait

Wait specified time period in seconds. The time period may be an arbitrary block, that returns a number.
wait_arrival

Wait, until the drone reaches navigate-block's target point.
get_position

The block returns current position, velocity or yaw angle of the drone relative to the specified coordinate frame.
set_effect

The block allows to set animations to LED strip, similarly to set_effect ROS-service.
Example of using the block with a random color (colors-related blocks are located in Colour category):

Work with GPIO
GPIO category contains blocks for working with GPIO. Note, that for correct work of these blocks, pigpiod daemon should be running:
sudo systemctl enable pigpiod.service
sudo systemctl start pigpiod.service
See details on GPIO in the appropriate article.