Initial setup
Installing QGroundControl
QGroundControl is a software package that can be used to flash, configure and calibrate the flight controller.
Download and install the version for your operating system from the official QGroundControl website. When asked, agree to install additional drivers.
Consult the official QGroundControl user guide if anything goes wrong.
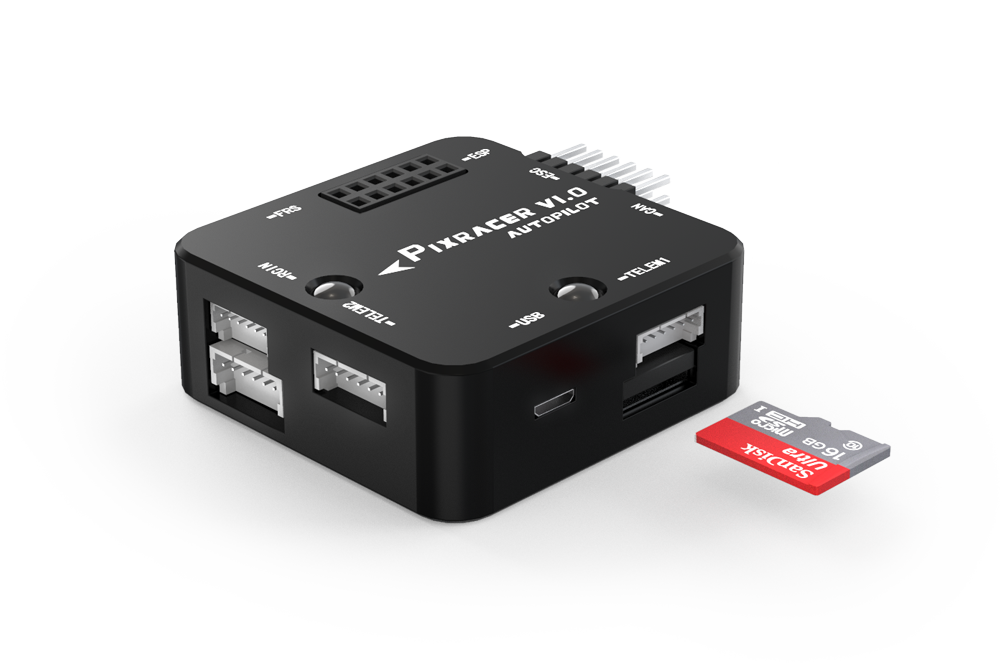
Preparing the MicroSD card
Prepare the MicroSD card for your flight controller.
- Put the card into your computer (use an adapter if necessary).
- Format the card to FAT32 filesystem. Right click on the SD card icon in Windows Explorer and select "Format". Use the Disk Utility in macOS.
- Use "Safely Remove Hardware" and unplug the card.
- Put the card into your flight controller.
Flashing the flight controller
Main article: https://docs.qgroundcontrol.com/en/SetupView/Firmware.html
Do not connect your flight controller prior to flashing.
We recommend using the modified version of PX4 with COEX patches for the Clover drone, especially for autonomous flights. Download the latest stable version from our GitHub.
To use all the most recent PX4 functions you also can use the latest official firmware version (experimentally).
Flash the flight controller with this firmware:
- Disconnect the flight controller from computer (if connected).
- Launch QGroundControl software.
- Go to Vehicle Setup panel (click on the QGroundControl logo in the top-left corner) and select Firmware menu.
- Connect your flight controller to your PC over USB.
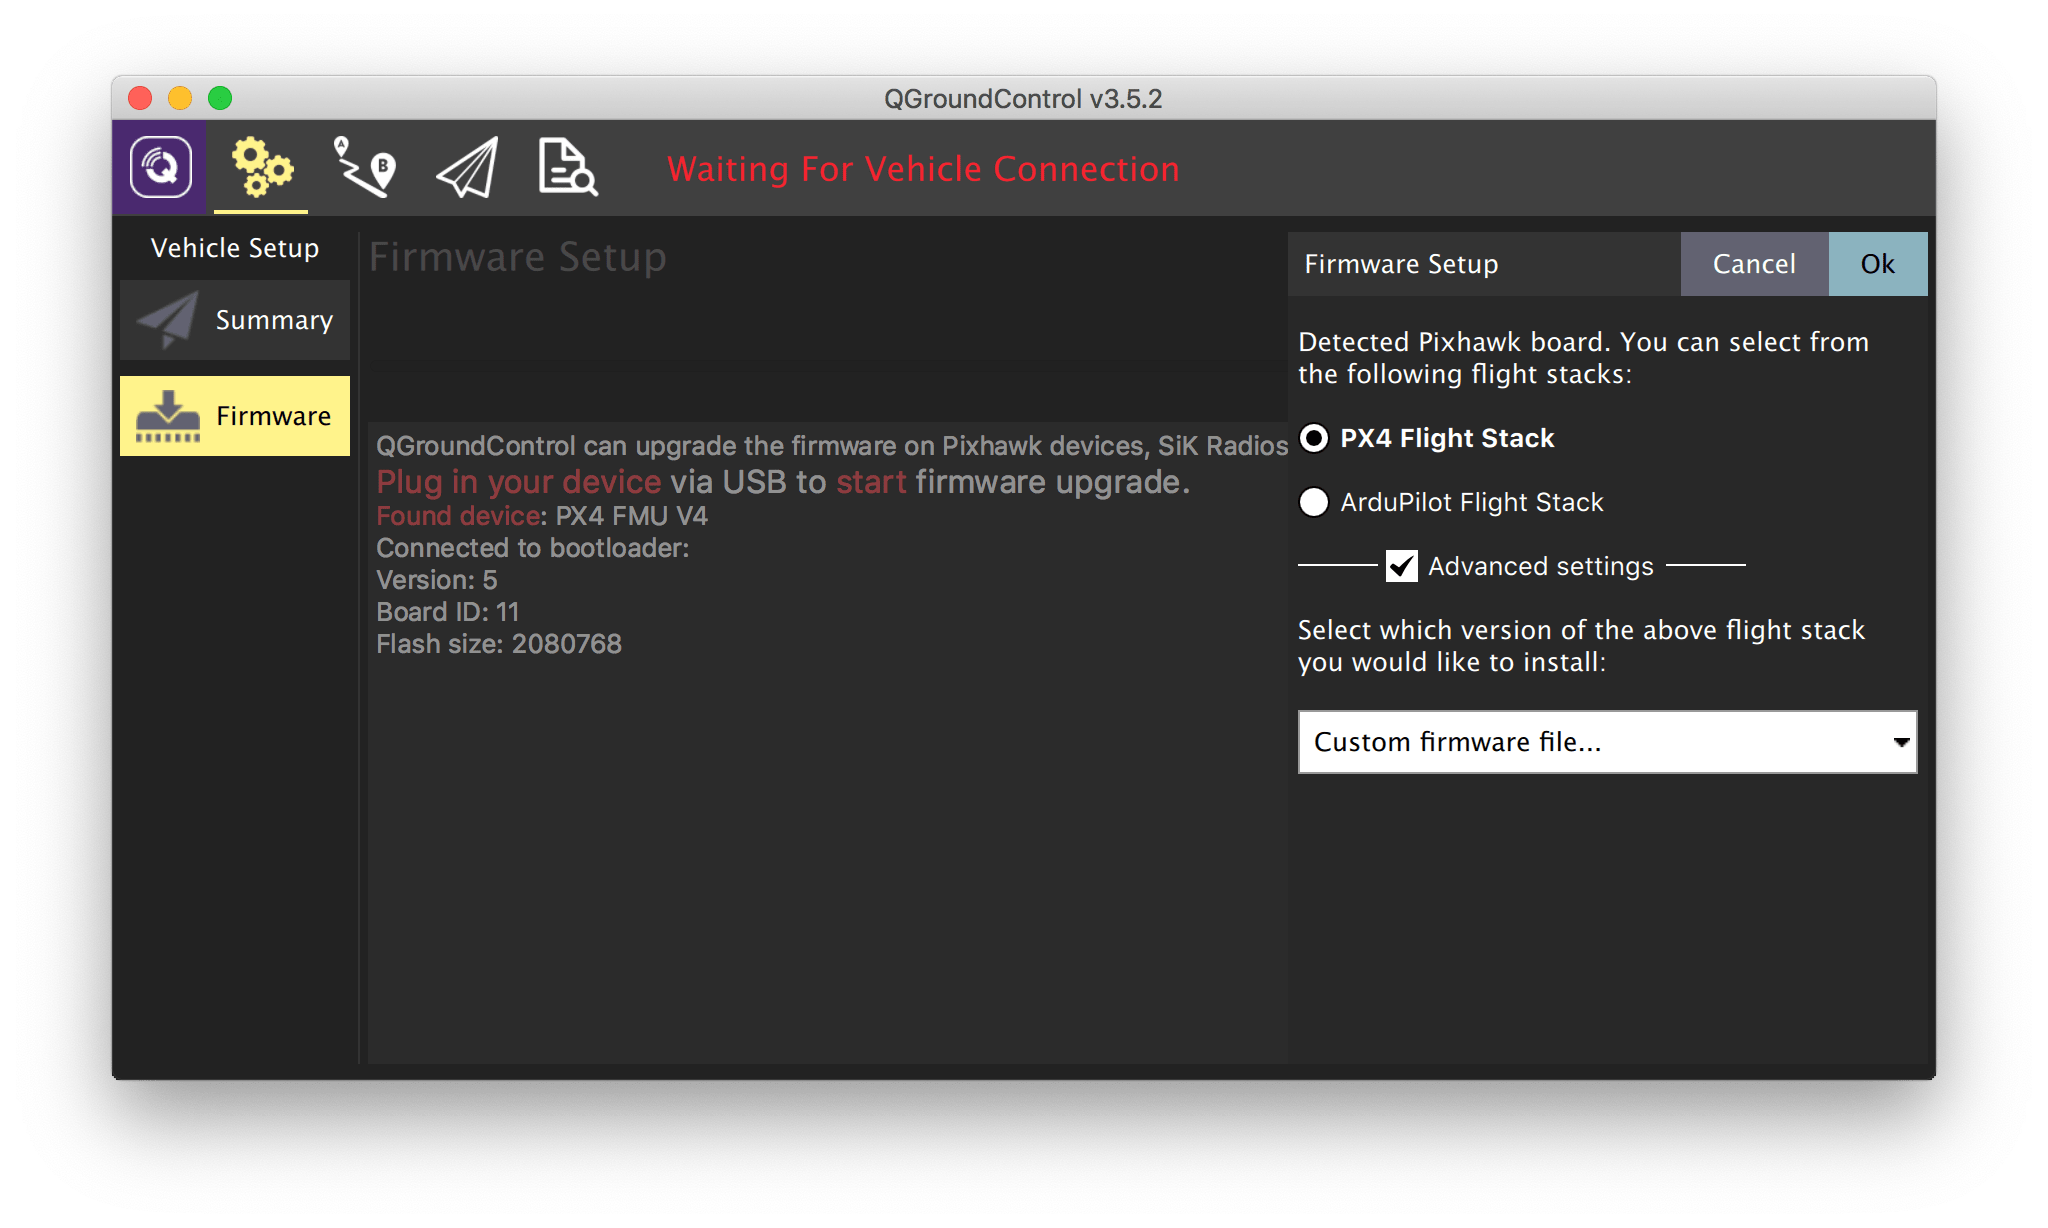
Select PX4 Flight Stack in the right bar appeared.
To use COEX patched firmware:
- Check Advanced Settings checkbox.
- Select Custom firmware file... from the dropdown list.
- Press OK and select the file that you've downloaded.
To use the latest official stable firmware just press OK.
Wait for QGroundControl to finish flashing the flight controller.
Do not unplug the flight controller during the flashing process.
Read more about the firmware in the "Pixhawk Firmware" article.
Configuring the flight controller
You can use the Raspberry Pi to access the flight controller over Wi-Fi for the rest of the setup process.
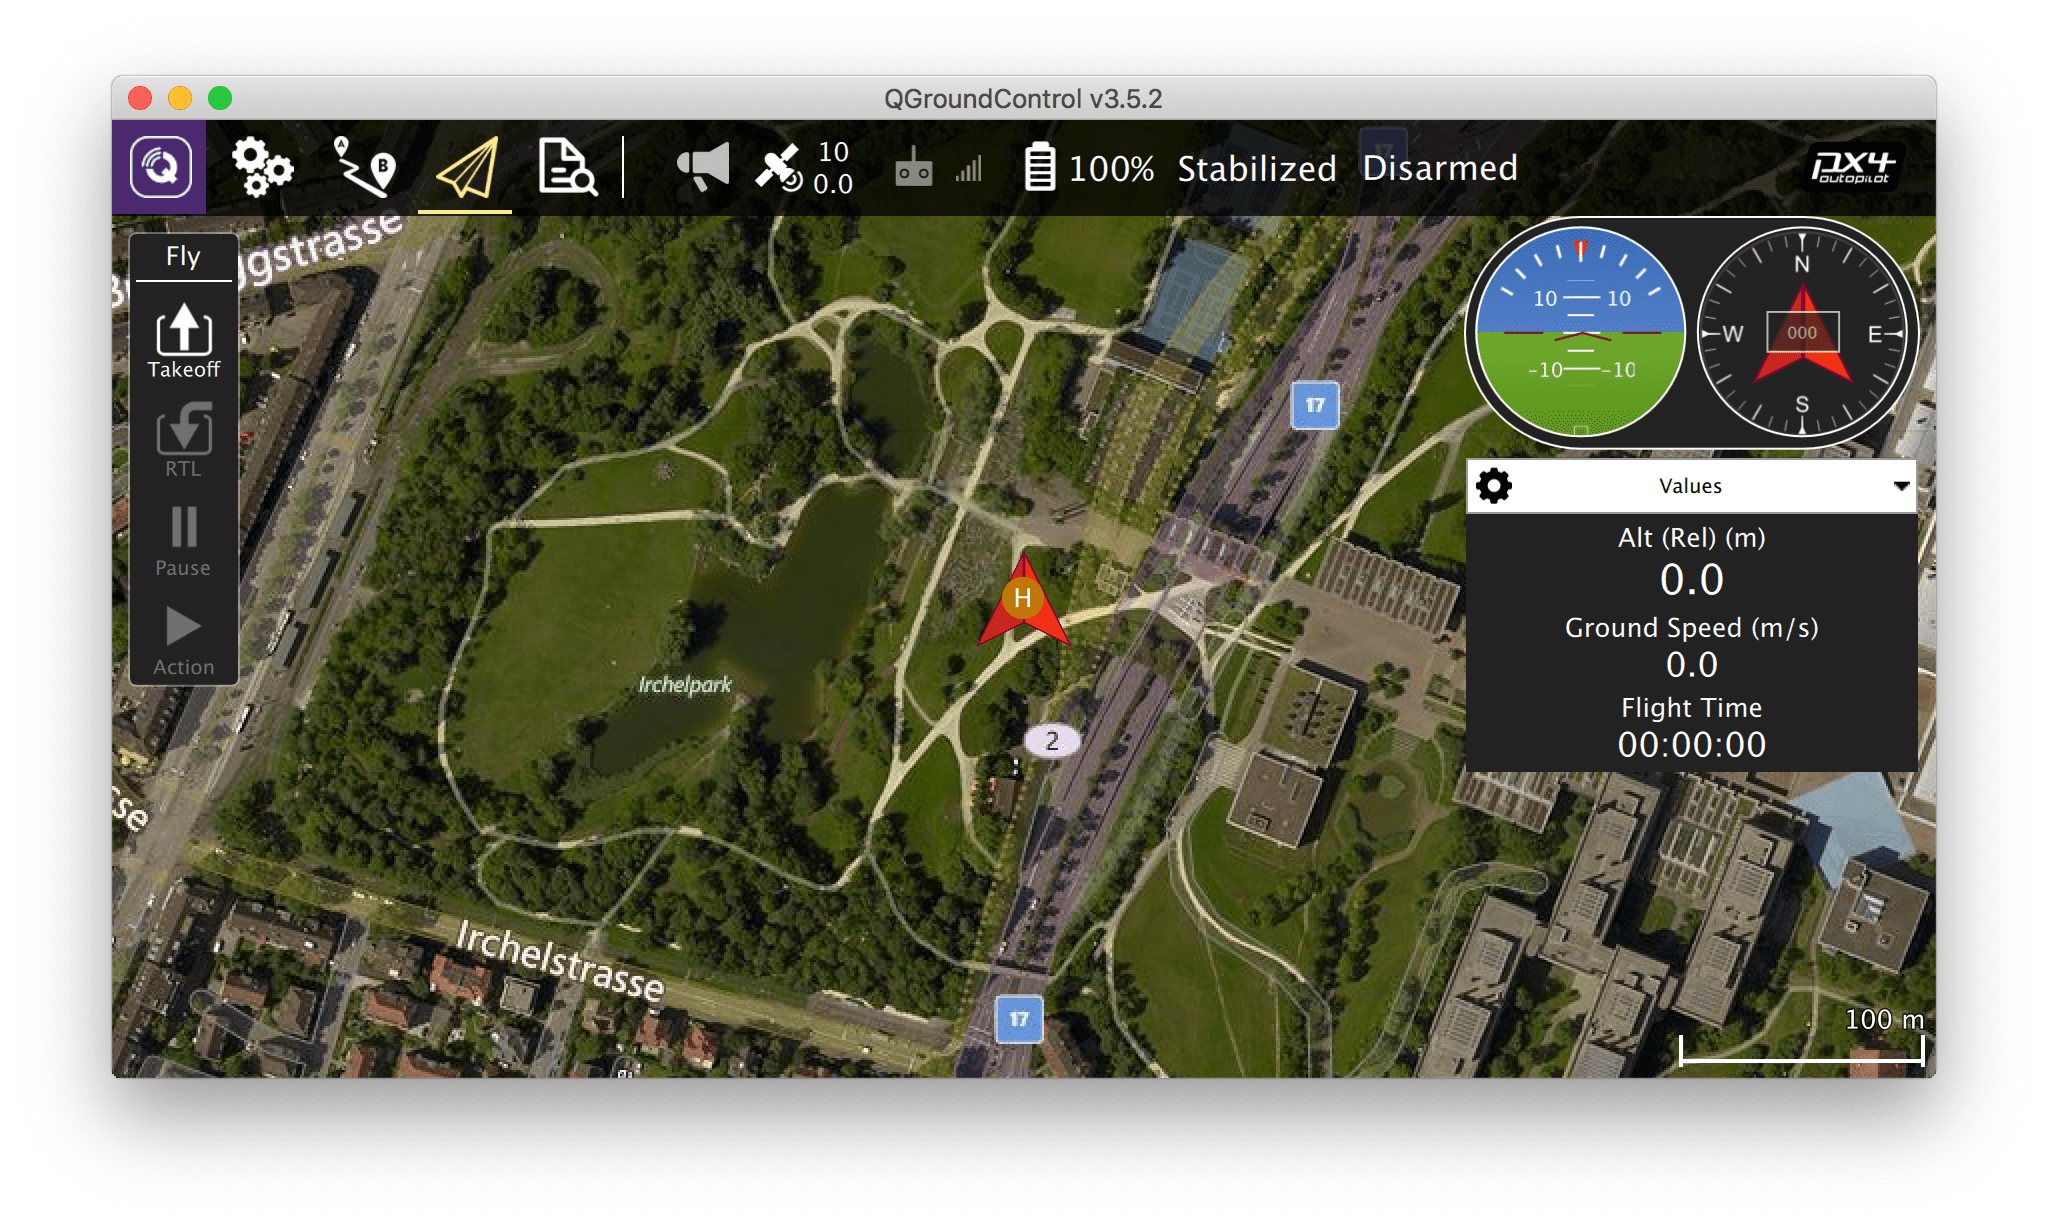
This is how the main QGroundControl settings window will look like:
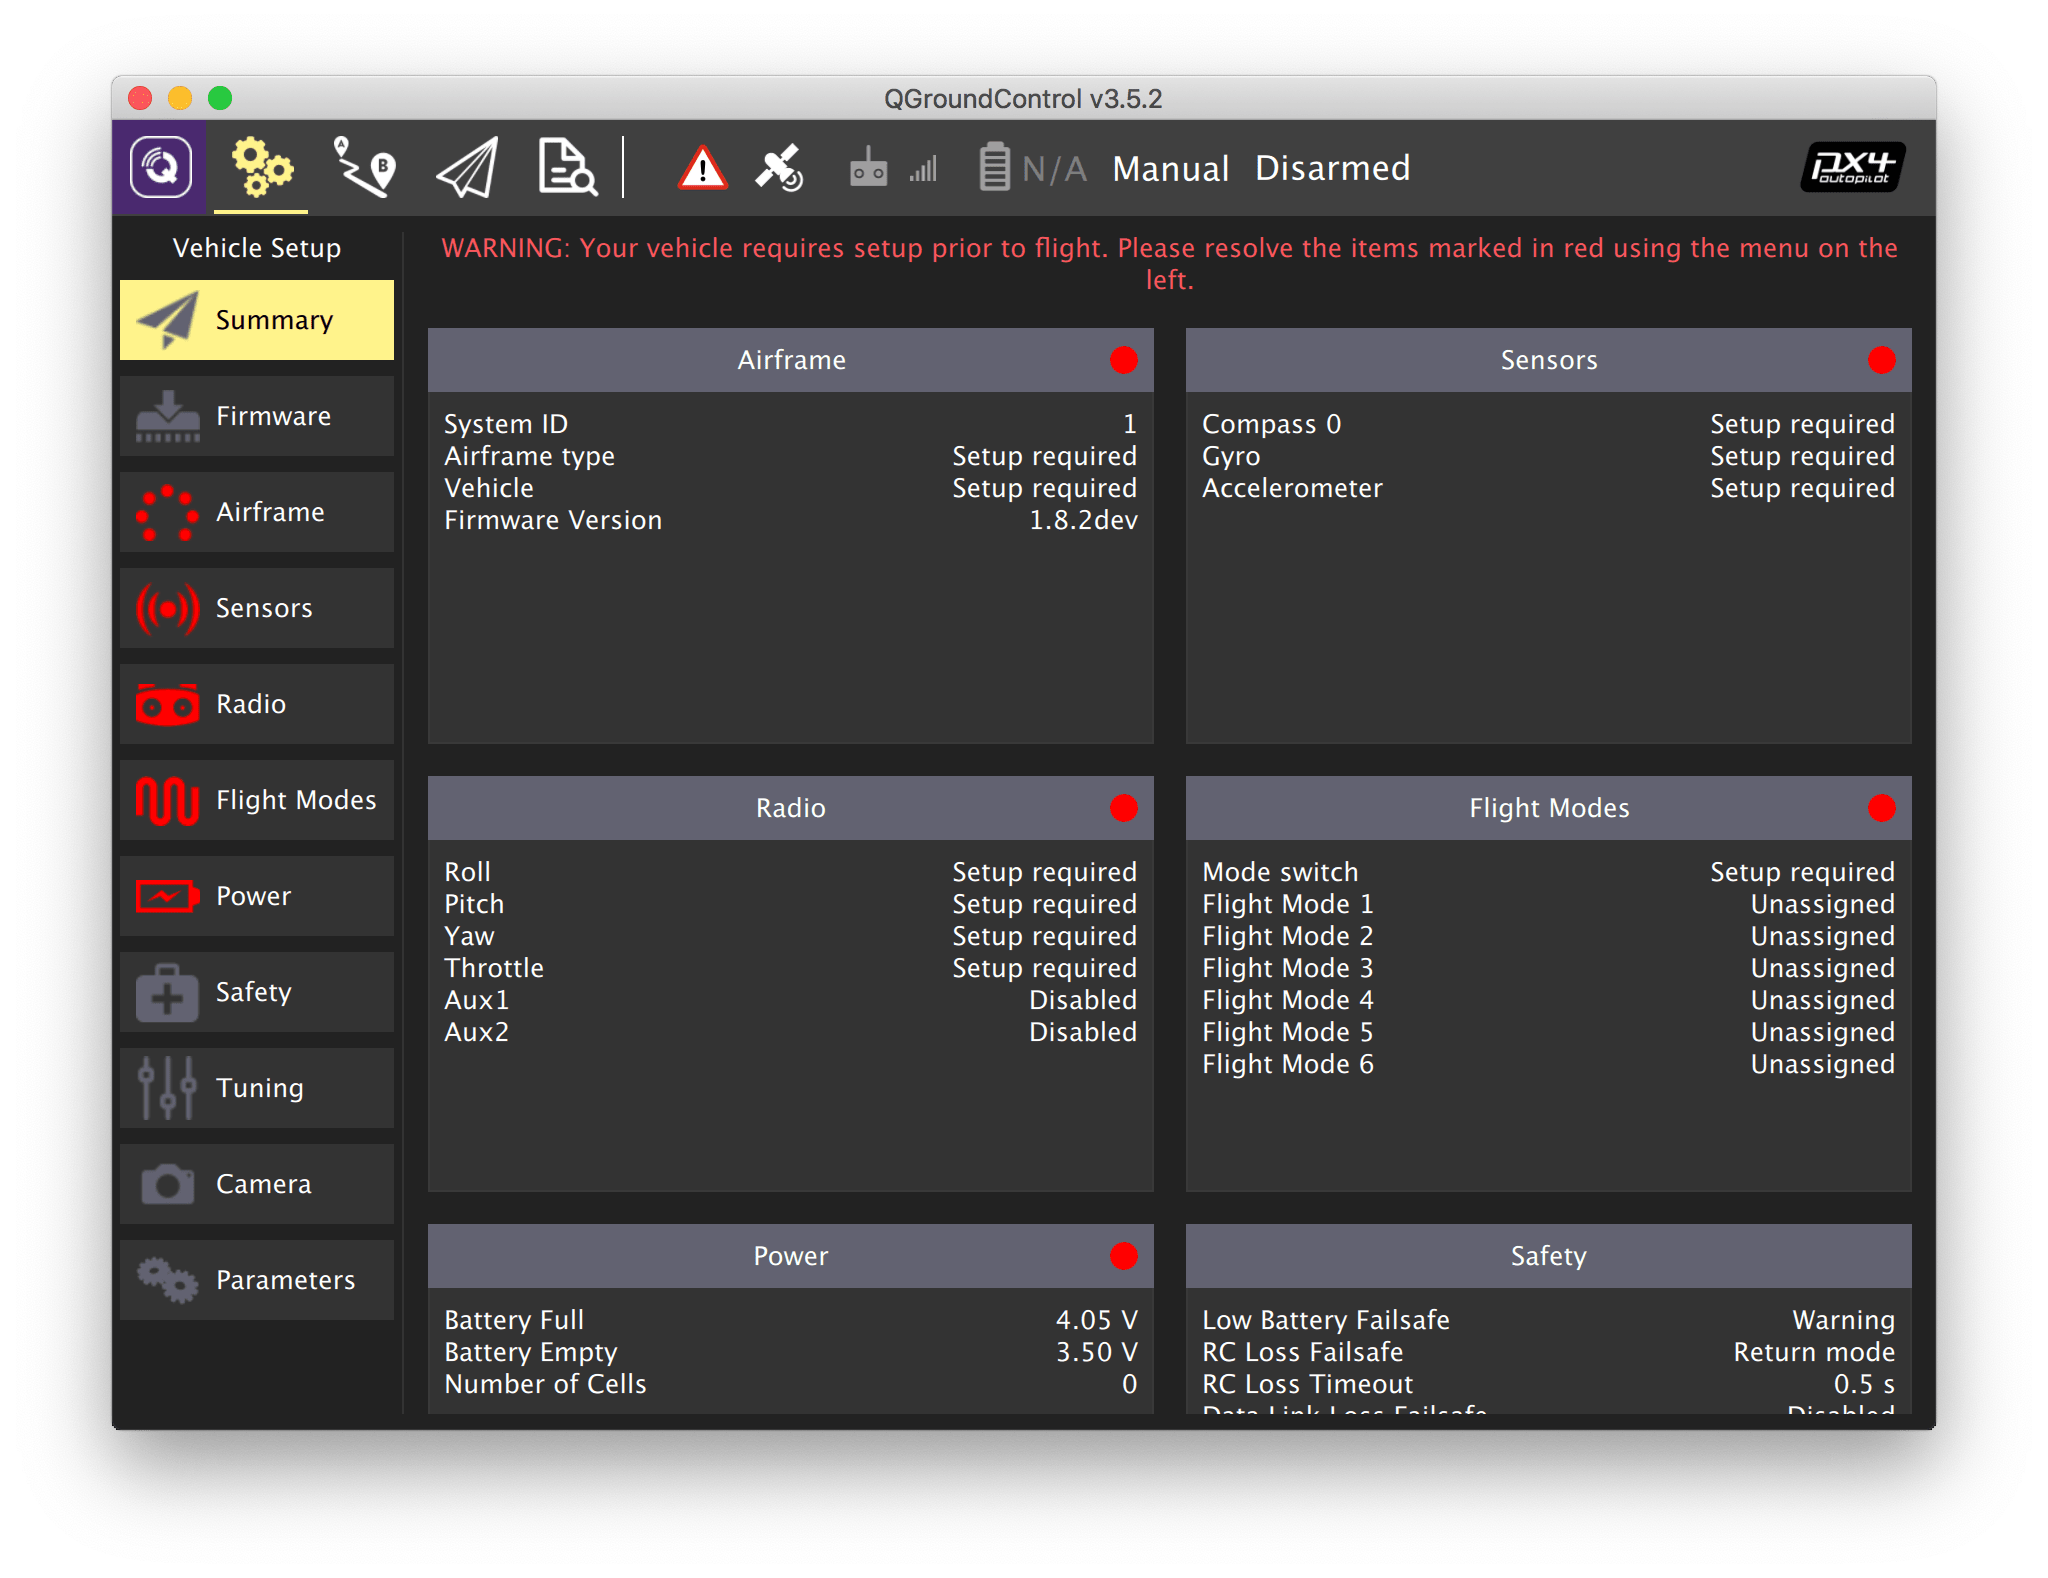
- Parameters that require setup: Airframe, Radio, Sensors, Flight Modes.
- Current firmware version.
- Current flight mode.
- Error messages.
Selecting the airframe
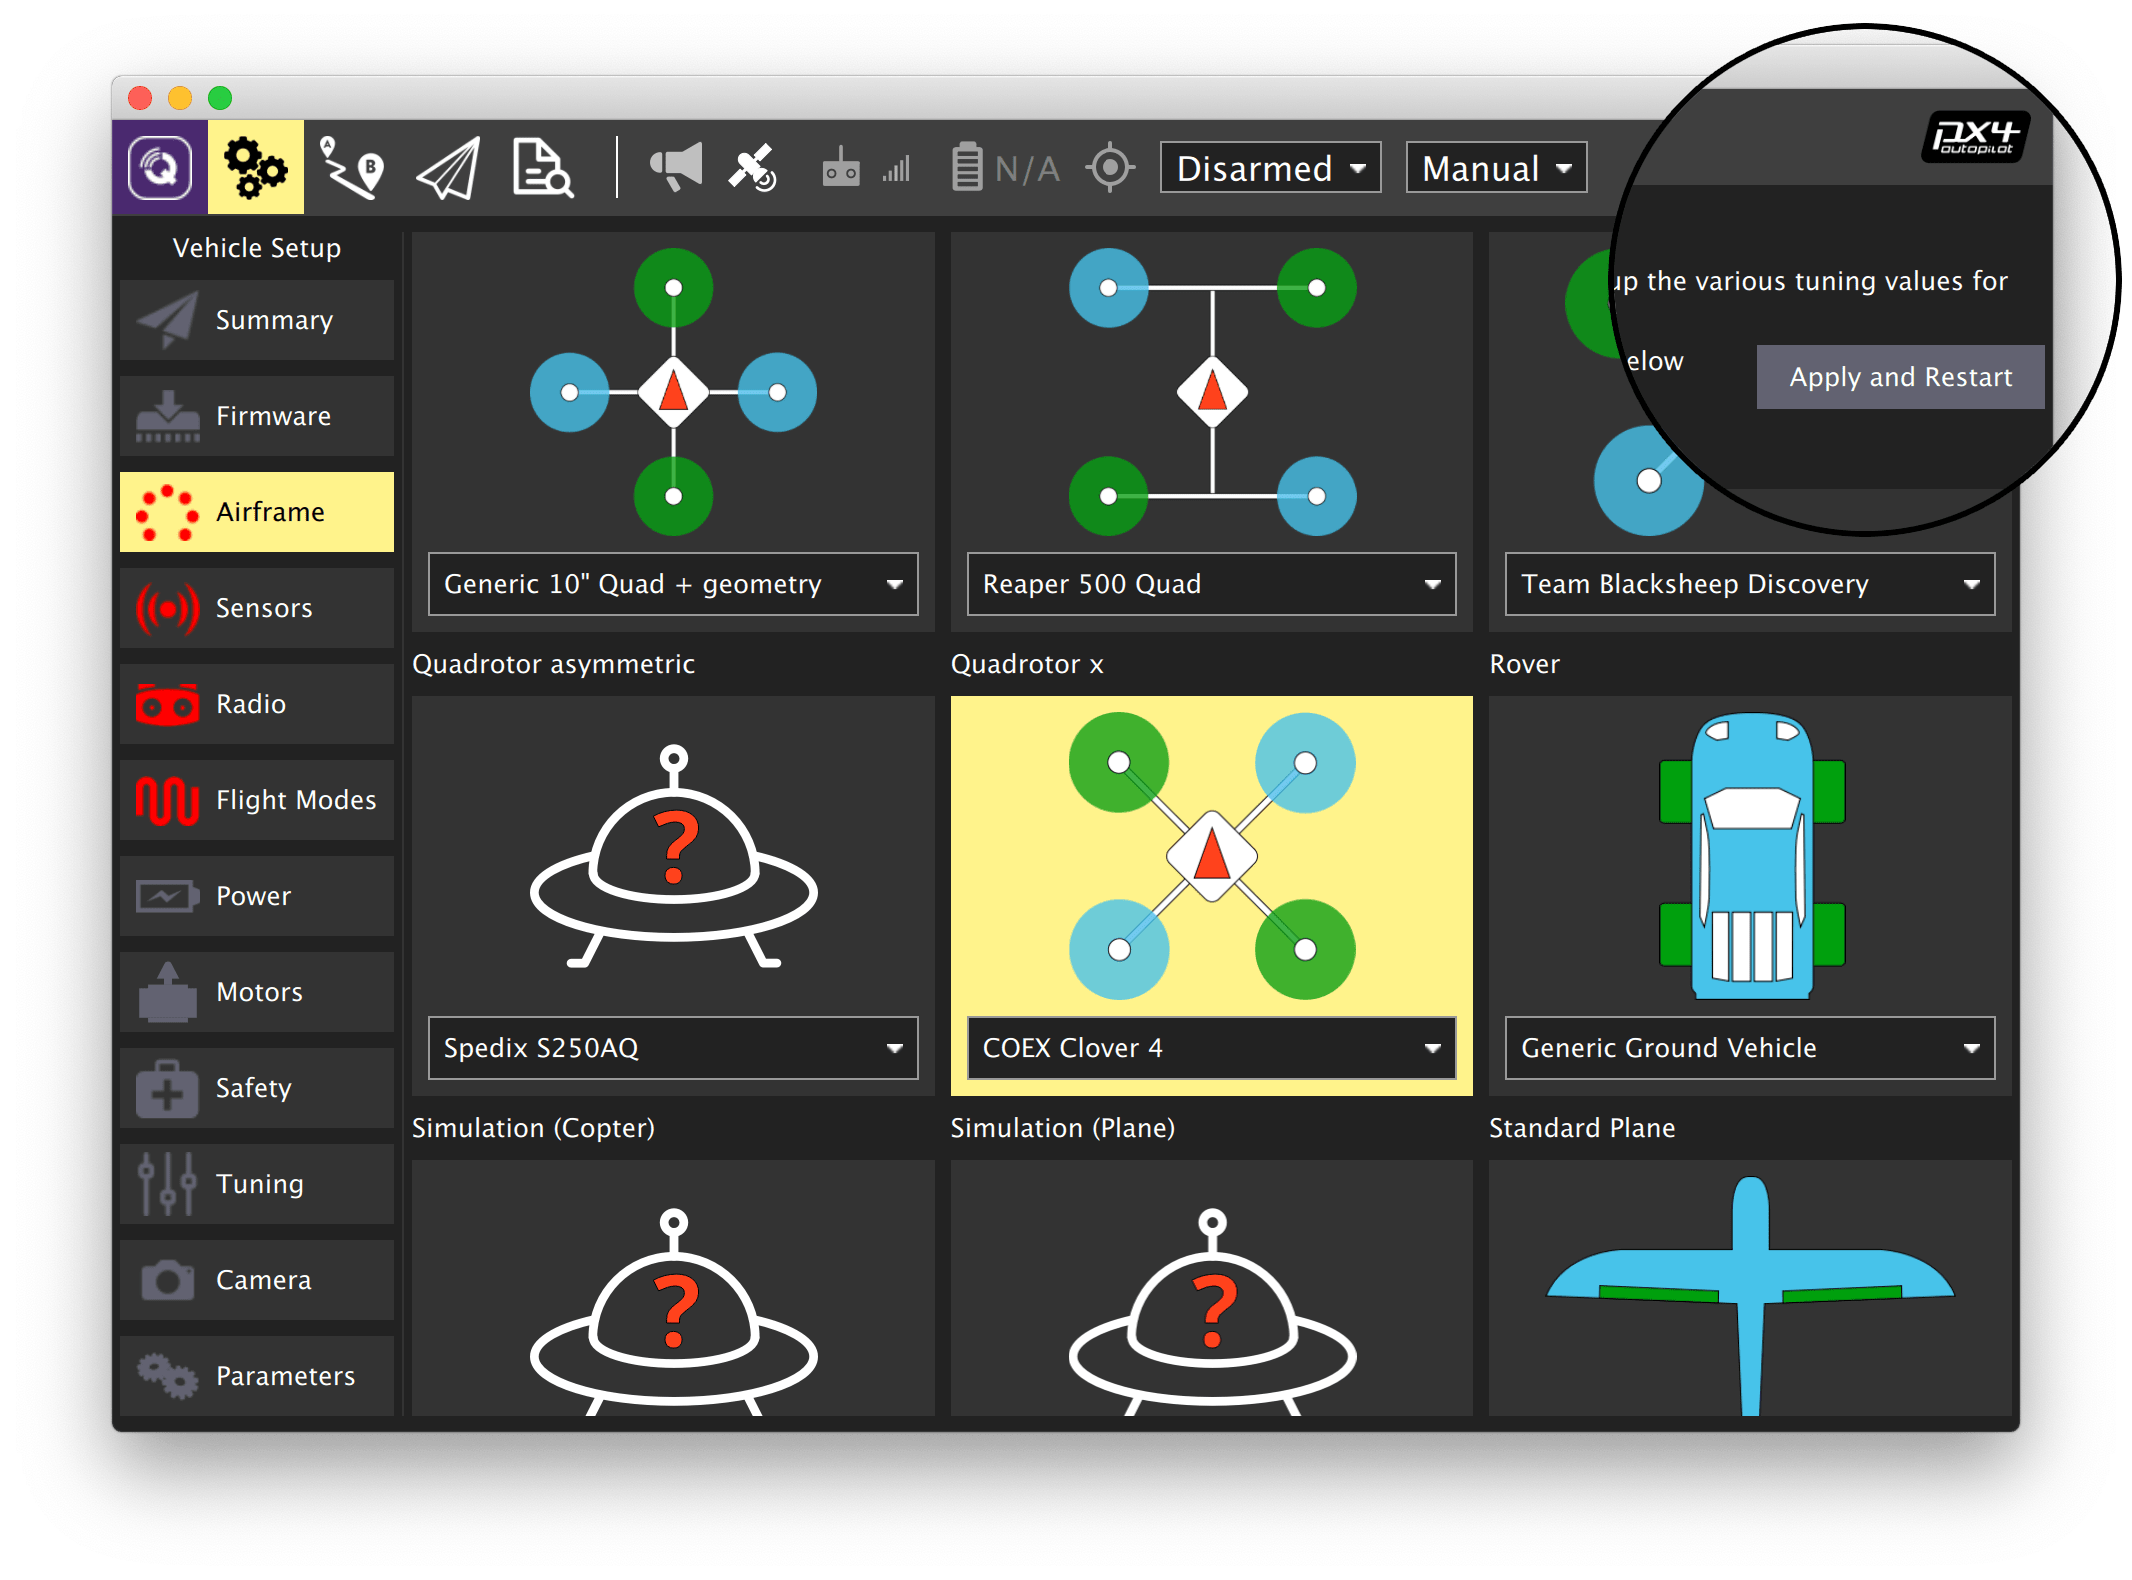
- Open the Vehicle Setup tab.
- Select the Airframe menu.
- Select the Quadrotor X airframe type.
- For Clover 4 select COEX Clover 4 from the dropdown menu. Otherwise select Generic Quadrotor X.
- Return to the top of the list and press Apply and Restart button, confirm by pressing Apply.
- Wait for the settings to be applied and for the flight controller to restart.
Setting parameters
Open the Vehicle Setup tab and select the Parameters menu. You can use the Search field to find parameters by name. Recommended parameters values are given in the further documentation and also in the parameters summary article.
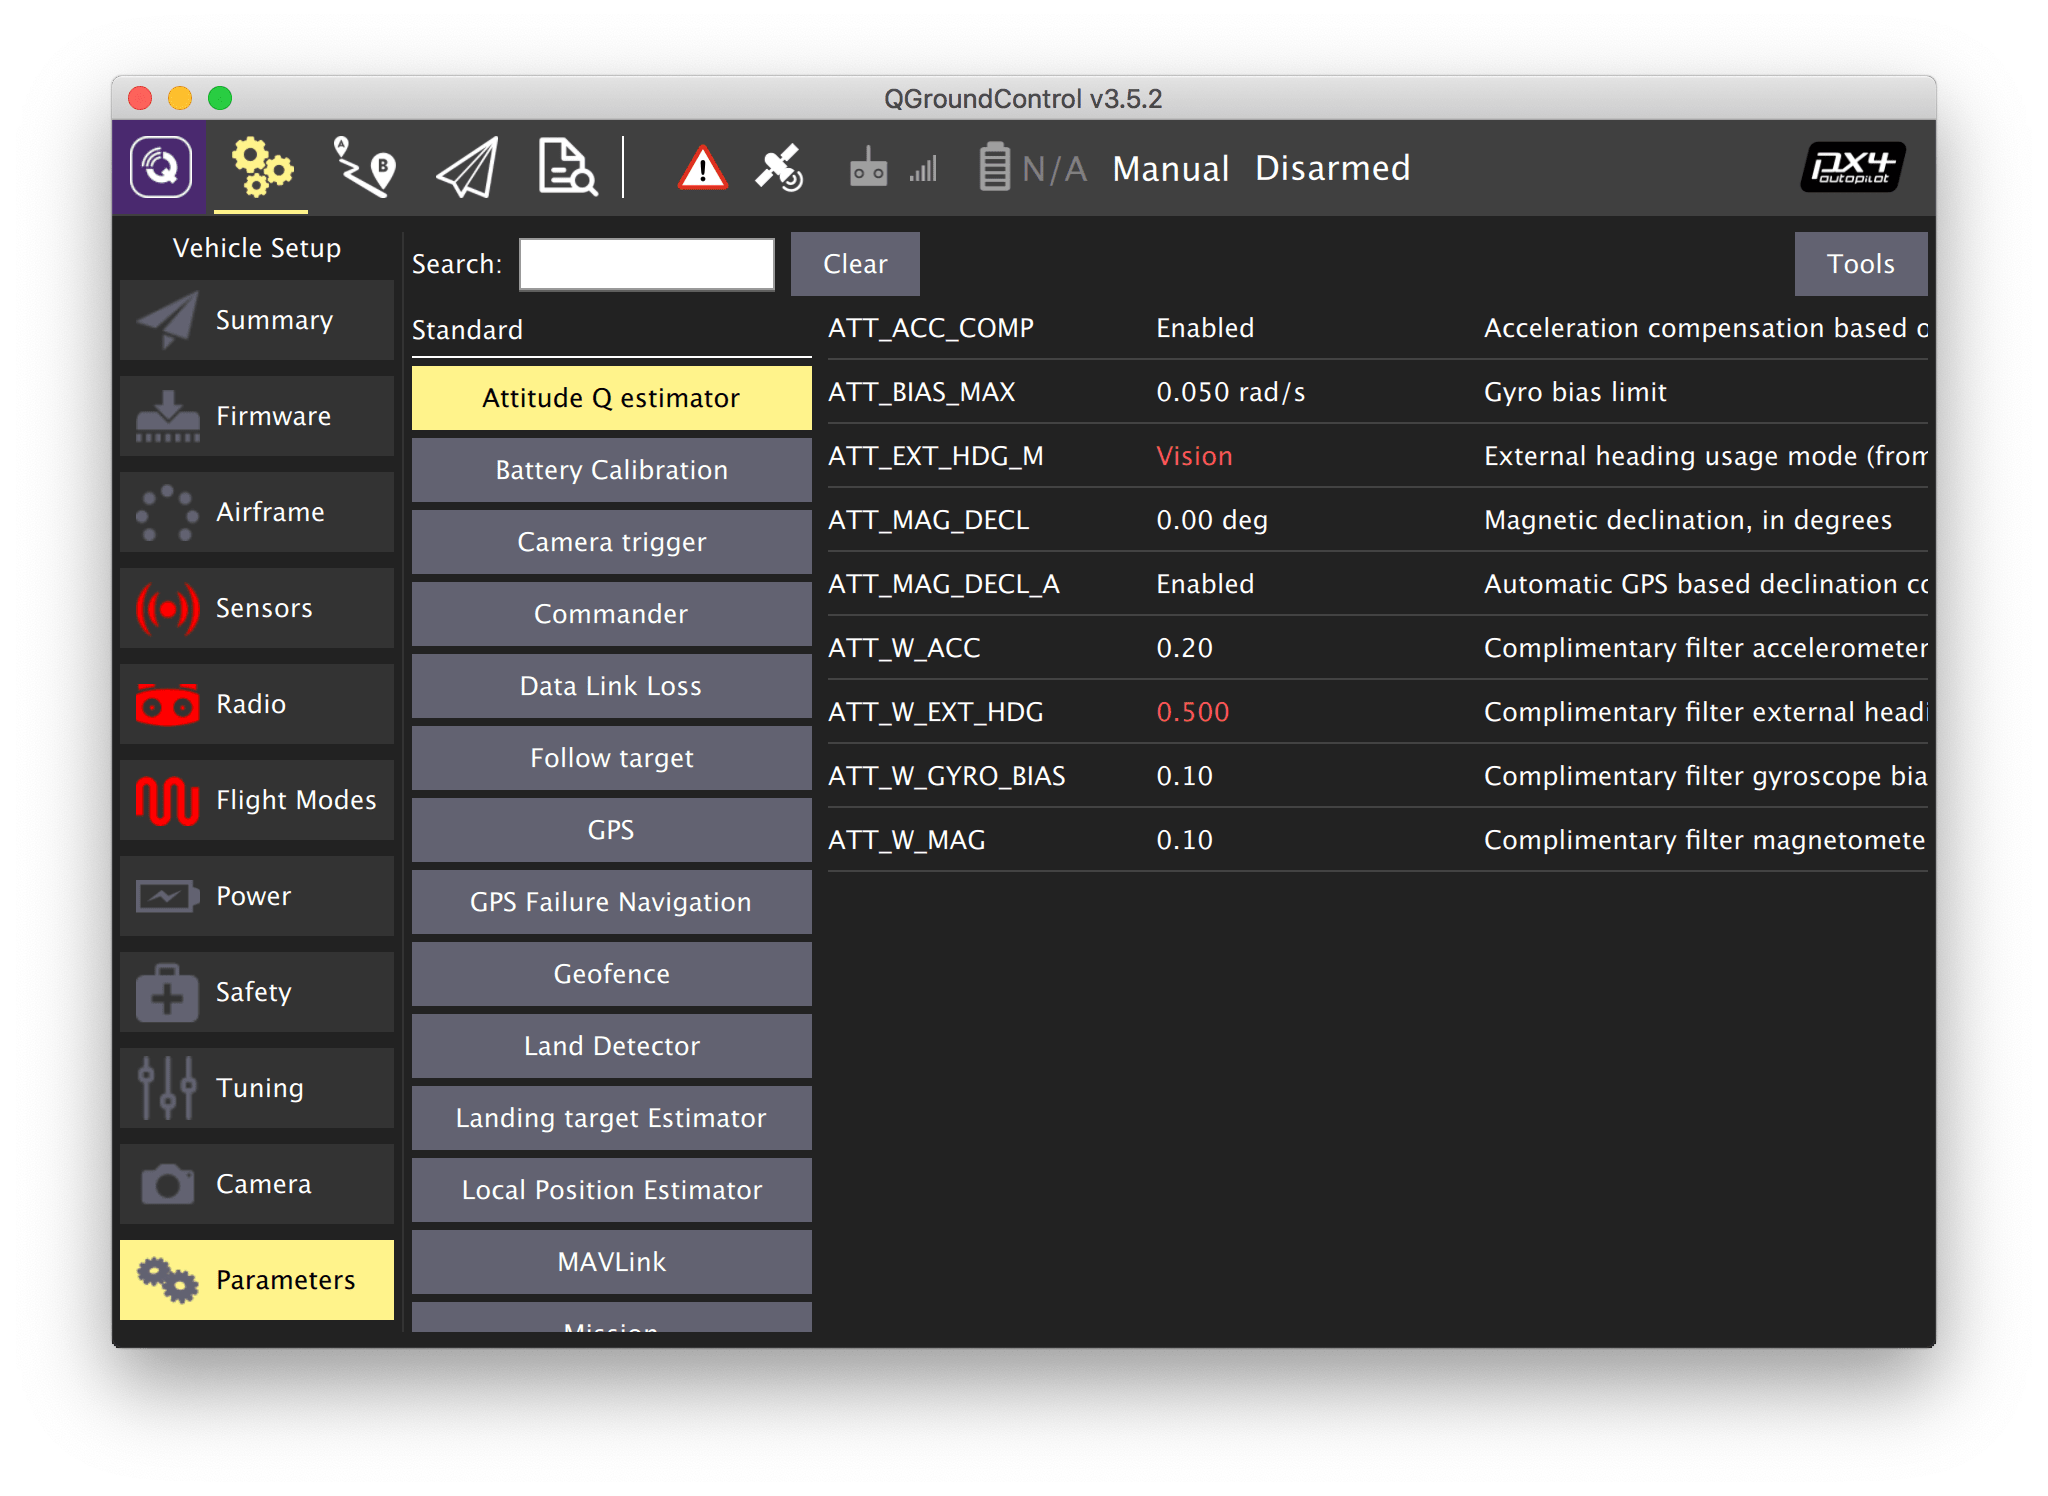
Press the Save button to save the changed value to the flight controller. Changing some parameters require rebooting the flight controller. You can do that by pressing the Tools button and selecting the Reboot vehicle option.
Configuring PID regulators
Selecting COEX Clover 4 frame subtype doesn't require setting PID coefficients.
Averaged PID coefficients for the Clover 4 drone
MC_PITCHRATE_P= 0.087MC_PITCHRATE_I= 0.037MC_PITCHRATE_D= 0.0044MC_PITCH_P= 8.5MC_ROLLRATE_P= 0.087MC_ROLLRATE_I= 0.037MC_ROLLRATE_D= 0.0044MC_ROLL_P= 8.5MPC_XY_VEL_P= 0.11MPC_XY_VEL_D= 0.013MPC_XY_P= 1.1MPC_Z_VEL_P= 0.24MPC_Z_P= 1.2
Averaged PID coefficients for the Clover 3 drone
MC_PITCHRATE_P= 0.145MC_PITCHRATE_I= 0.050MC_PITCHRATE_D= 0.0025MC_ROLLRATE_P= 0.145MC_ROLLRATE_I= 0.050MC_ROLLRATE_D= 0.0025
Note that you should fine-tune the PID parameters for each drone individually.
Circuit breaker parameters
- Set
CBRK_USB_CHKto 197848 to allow flights with the USB cable connected. - Disable safety switch check:
CBRK_IO_SAFETY= 22027.
Next: Sensor calibration.