Face recognition system
Introduction
Recently, face recognition systems have been getting a wider use, the application scope of this technology is really expansive: from regular selfie drones to police drones. Everywhere it is being integrated into various devices. The recognition process itself is really fascinating, and that's what inspired me to create a project associated with it. The purpose of my internship project was to create a simple open source system for face recognition with a Clover quadcopter. The program takes images from the quadcopter's camera and processes it on a PC. Therefore, all other instructions are executed on a PC.
Development
The first task was finding a recognition algorithm. As a solution to the problem, a ready API for Python was chosen. This API combines several advantages: recognition speed and accuracy, and ease of use.
Installation
First, you have to install all the necessary libraries:
pip install face_recognition
pip install opencv-python
Then download the script from the repository:
git clone https://github.com/mmkuznecov/face_recognition_from_clever.git
Code explanation
Enable libraries:
import face_recognition
import cv2
import os
import urllib.request
import numpy as np
This part of the code is intended for Python 3. In Python 2.7, enable urllib2 instead of urllib:
import urllib2
Create a list of encodings for images and a list of names:
faces_images=[]
for i in os.listdir('faces/'):
    faces_images.append(face_recognition.load_image_file('faces/'+i))
known_face_encodings=[]
for i in faces_images:
    known_face_encodings.append(face_recognition.face_encodings(i)[0])
known_face_names=[]url
for i in os.listdir('faces/'):
    i=i.split('.')[0]
    known_face_names.append(i)
Addition: all images are stored in folder faces in format name.jpg
Initialize some variables:
face_locations = []
face_encodings = []
face_names = []
process_this_frame = True
Get the image from the server, and convert it to format cv2:
req = urllib.request.urlopen('http://192.168.11.1:8080/snapshot?topic=/main_camera/image_raw')
arr = np.asarray(bytearray(req.read()), dtype=np.uint8)
frame = cv2.imdecode(arr, -1)
For Python 2.7:
req = urllib2.urlopen('http://192.168.11.1:8080/snapshot?topic=/main_camera/image_raw')
arr = np.asarray(bytearray(req.read()), dtype=np.uint8)
frame = cv2.imdecode(arr, -1)
Further explanation of the code is available at GitHub of the used API in the comments to the next script
Using
It is enough to connect to "Clover" via Wi-Fi and check whether the video stream from the camera is working correctly.
Then just run the script:
python recog.py
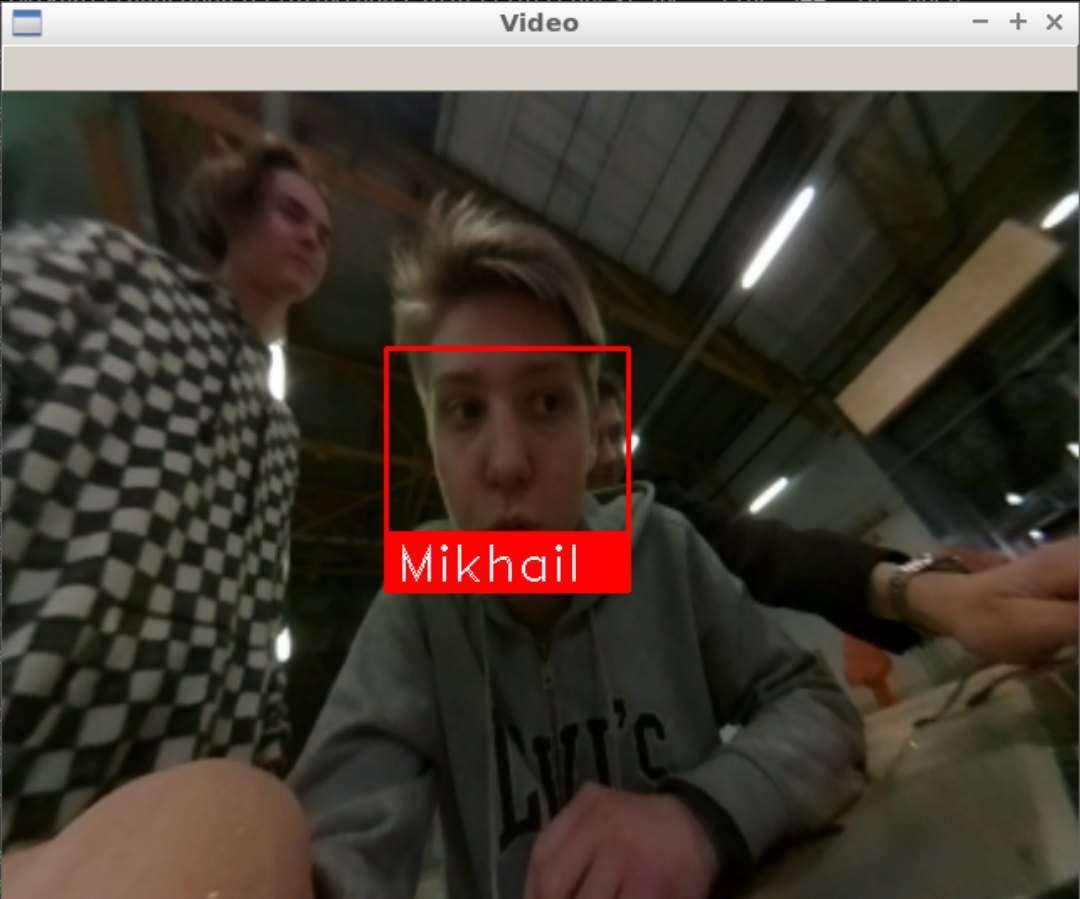
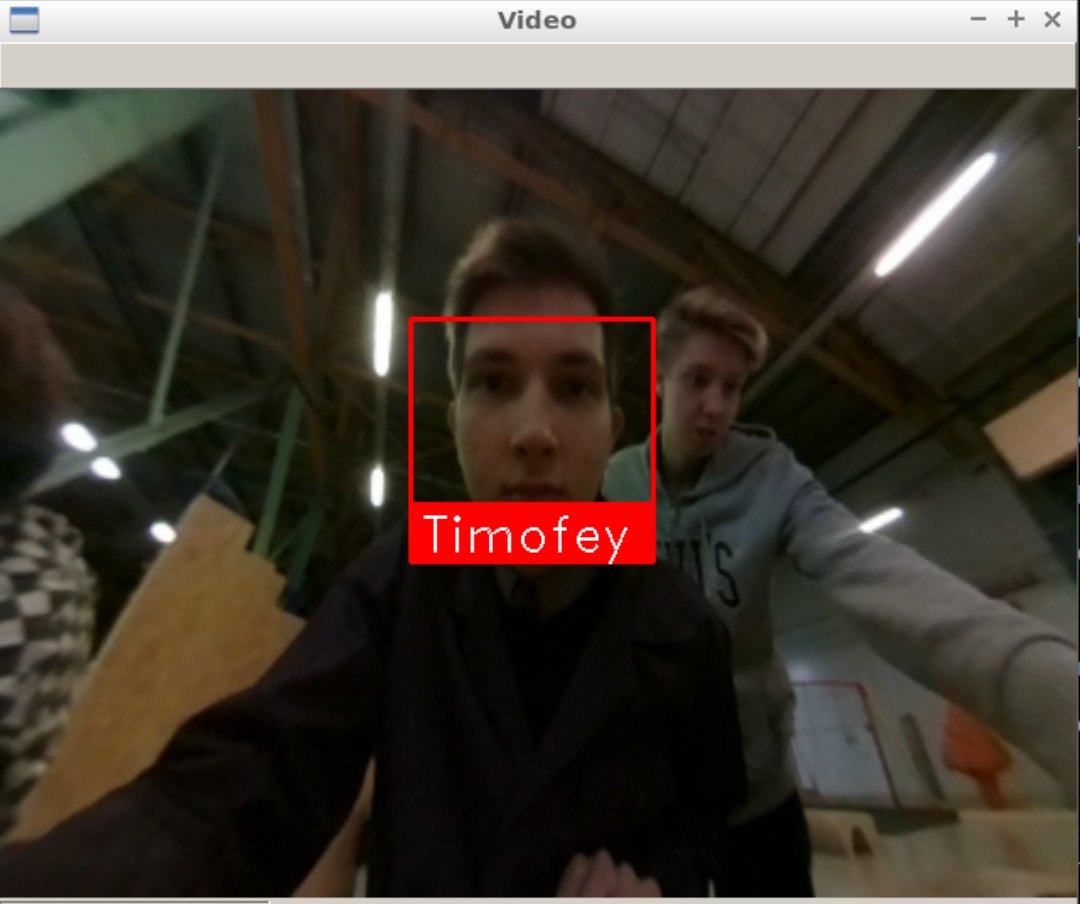
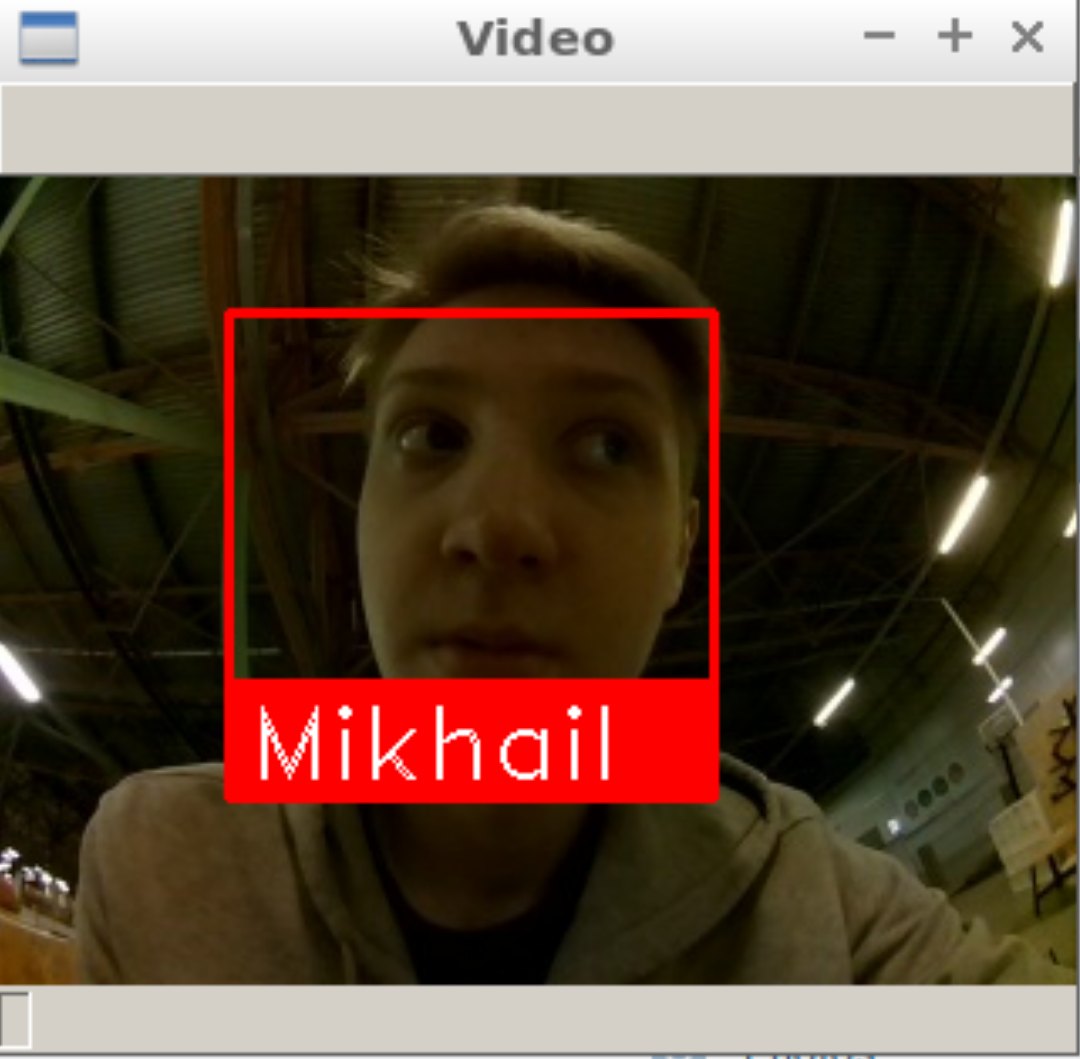
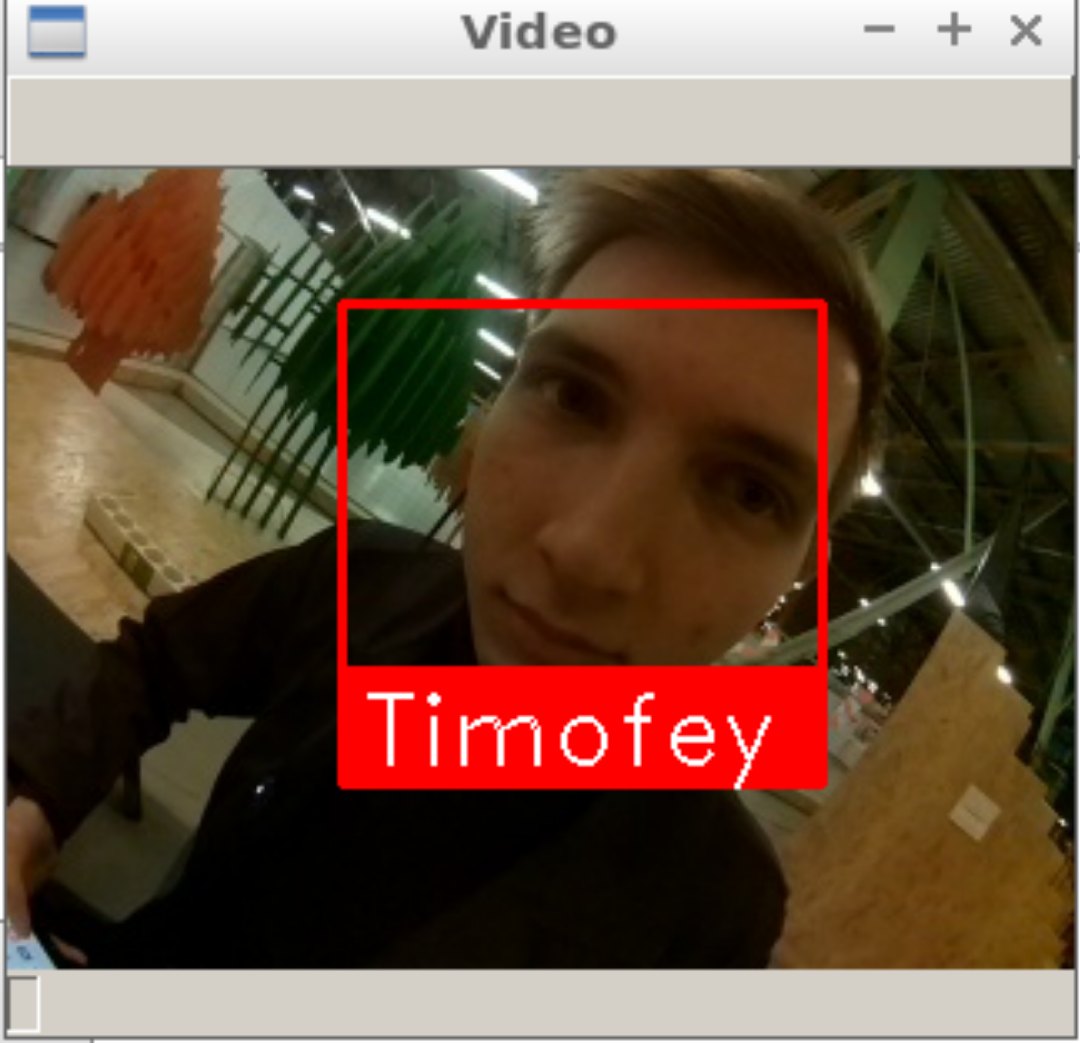
And the output:
Possible difficulties
When the script is started, the following error may pop up:
    known_face_encodings.append(face_recognition.face_encodings(i)[0])
IndexError: list index out of range
In this case, try to edit the images in folder faces, perhaps the program cannot recognize faces in the images due to poor quality.
Using the calibration
To improve recognition accuracy, you can use camera calibration. The calibration module may be installed using a special package. Instructions for installation and use are available in the camera calibration article. The program that uses the calibration package is named recog_undist.py
Code brief explanation:
Enable installed package:
import clever_cam_calibration.clevercamcalib as ccc
Add the following lines:
height_or, width_or, depth_or = frame.shape
This way, you will obtain information about image size, where height_or is the height of the initial image in pixels, and width_or is the width of the initial image. Then correct distortions in the initial image, and get its parameters:
if height_or==240 and width_or==320:
    frame=ccc.get_undistorted_image(frame,ccc.CLEVER_FISHEYE_CAM_320)
elif height_or==480 and width_or==640:
    frame=ccc.get_undistorted_image(frame,ccc.CLEVER_FISHEYE_CAM_640)
else:
    frame=ccc.get_undistorted_image(frame,input("Input your path to the .yaml file: "))
height_unz, width_unz, depth_unz = frame.shape
In this case, we pass argument ccc.CLEVER_FISHEYE_CAM_640, since the resolution of the image in this example, is 640x480; you can also use ccc.CLEVER_FISHEYE_CAM_320 for resolution 320x240, otherwise you will have to send the path to the .yaml calibration file as the second argument.
Finally, return the image to its initial size:
frame=cv2.resize(frame,(0,0), fx=(width_or/width_unz),fy=(height_or/height_unz))
This was, you can significantly improve recognition accuracy since the image processed will not be so badly distorted.