RC setup
![]()
Before connecting and calibrating the RC, make sure that:
- There is no battery connected to the drone.
- The propellers are not mounted.
Connecting the RC transmitter
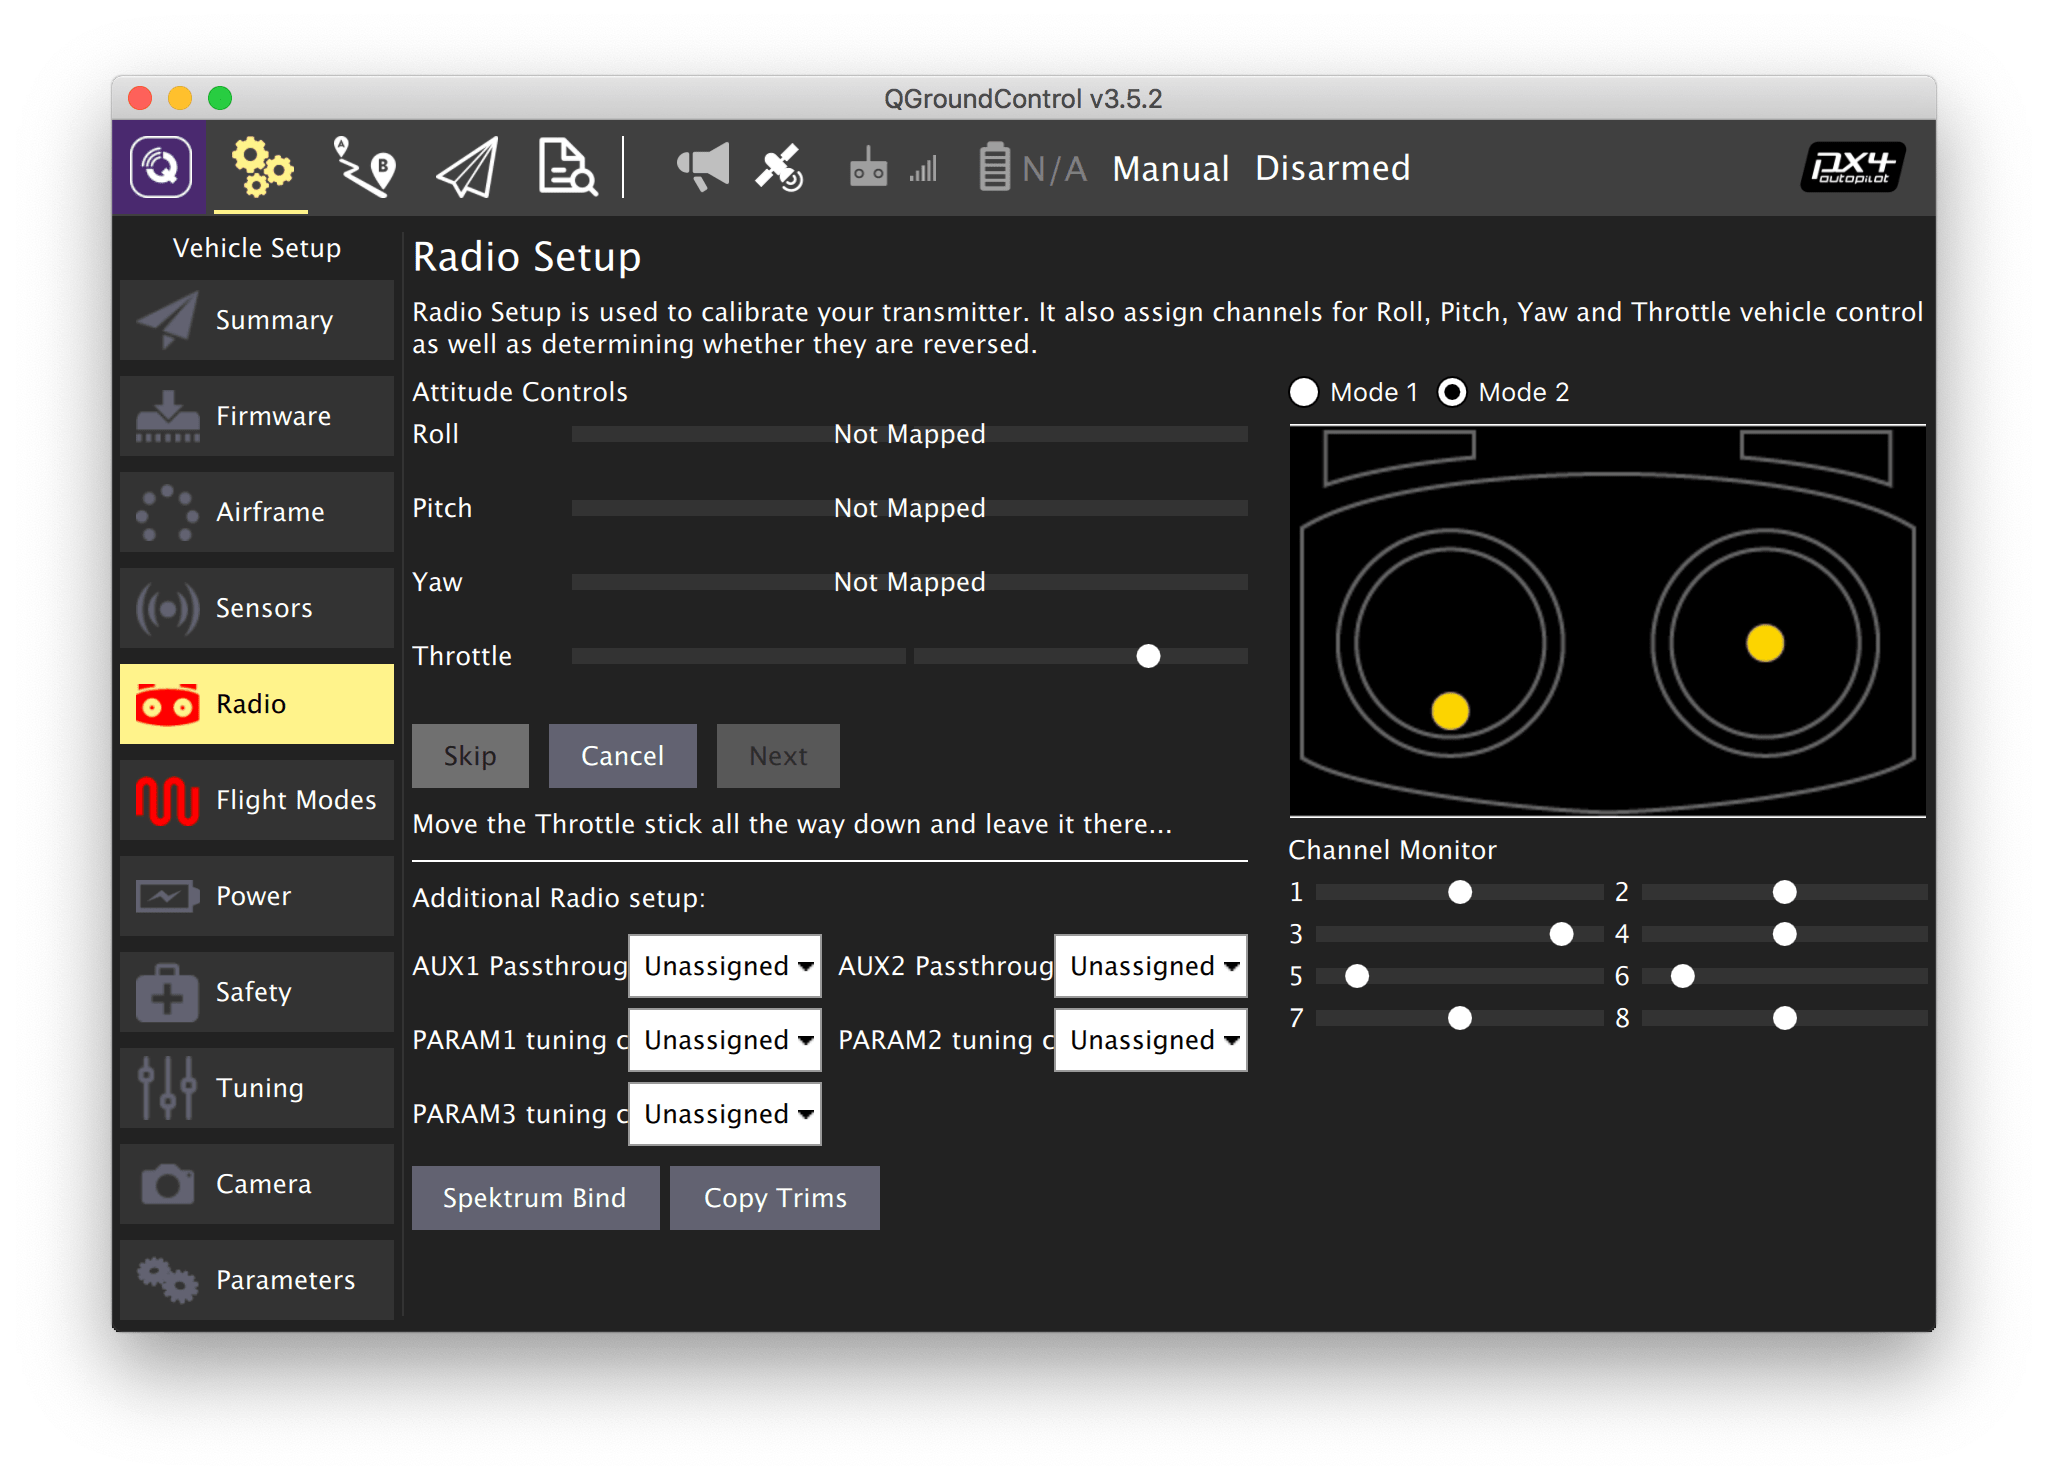
- In QGroundControl software, go the Vehicle Setup panel and choose the Radio menu.
- Power on the transmitter by sliding the POWER slider up.
Make sure the transmitter-receiver link is working.
The transmitter LCD screen should display the connection:
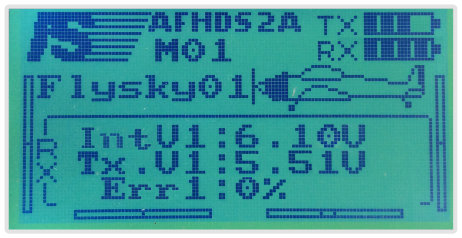
The LED on the receiver should glow steadily. Read the radio troubleshooting article if the link does not work.
Transmitter calibration
- Press the Calibrate button.
- Set the Throttle, Yaw, Pitch, and Roll trims to 0
- Trims are small constant offsets applied to a control in order to make your drone fly correctly.
- Move the trimming slider to the center using trimming buttons until you hear a long beep. Do this for each axis.
Press OK in QGroundControl.
Place the left stick (throttle) in the bottom position and press Next.
- Place the sticks in positions requested by QGroundControl.
- When you get the "Move all transmitter switches and/or dials back and forth to their extreme positions" instruction, move all switches and dials to their extreme positions.
- Press Next.
- When you get the "All settings have been captured. Click Next to write the new parameters to your board", press Next.
Further reading: https://docs.qgroundcontrol.com/en/SetupView/Radio.html
Next: Flight modes.